React Native Quick Environment setup and Installation guide for Windows
This article walks you through all the necessary steps you need to follow in order to install and setup your environment for react native projects.


When it comes to building mobile apps we have a common misconception that we need powerful machines to run and develop them in fact, this is not the case react native allows us to build cross-platform mobile applications with minimal setup.
In this article, I will show how you can set up your react native development environment for windows and Android OS.
Note: I assume that you have already installed a code editor on your computer. If you haven't please install the vs code .
To set up the development environment in windows OS, please follow the following steps:
Step 1: Install the LTS version of Node Js
To install the NodeJs click on this link and install the LTS version of it.
To check if NodeJs is already installed on your machine, type the command
node --version in the command prompt or any other CLI.
If it has been installed correctly it will show up the version as output.

Step 2: Install Java Development Kit
To install the latest version of JDK click on this link and choose the JDK based upon your processor whether it is 32 or 64 bit and install it on your machine.
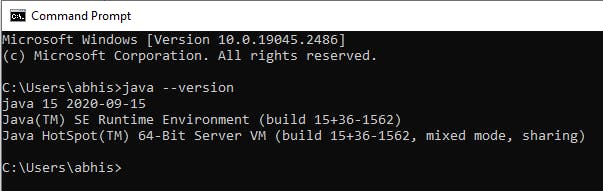
Once it has been installed you can check by typing the command java --version in your command prompt. It will show you the version of JDK you have installed on your machine.
Step 3: Install the Android Studio
Android Studio is necessary in order to run the application on an emulator or real device.
To install the Android Studio click on the link and follow the installation guide process.
Now you have installed all the necessary software on your computer, it's time to set up the react native project and run it on an emulator and a physical android device.
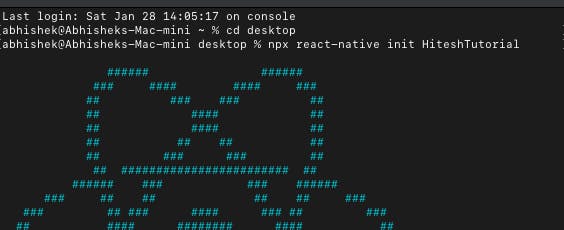
First of all, let's create a new application using react-native-cli. To create an application simply open the terminal and type the following command
npx react-native init project-name
This will take some time and eventually create a new application.
Open the project in your favorite code editor and follow the following steps to run the application whether in the emulator or on a physical android device.
To run the application on an Emulator
Emulator means a virtual device, to run the application on a virtual device please follow the given steps:
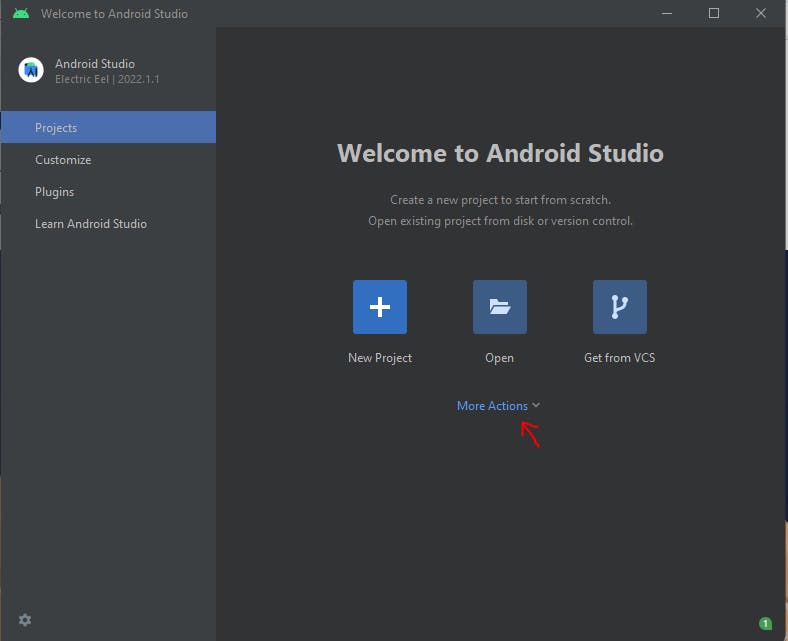
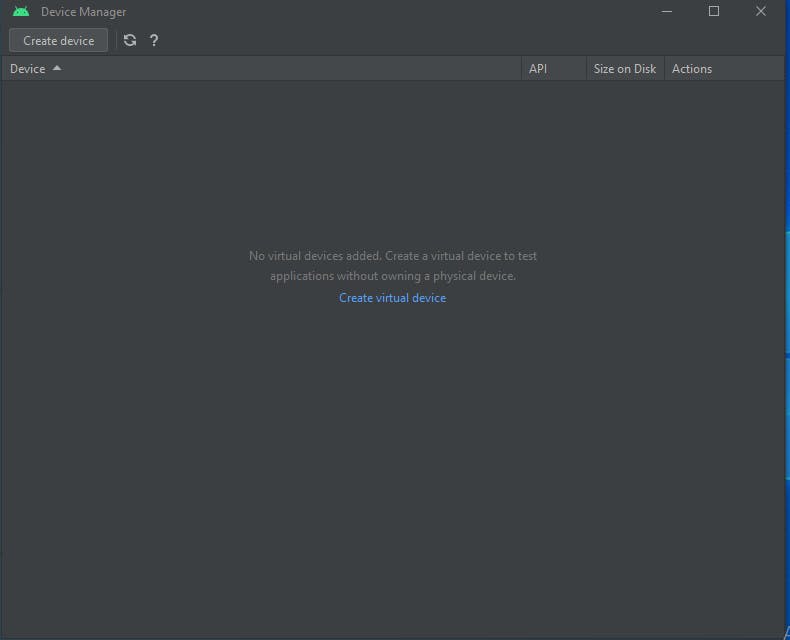
Step 1: Open Android Studio and click on "More Action" and select "create virtual device" from the dropdown.
Step 2: Click on "Create virtual device"
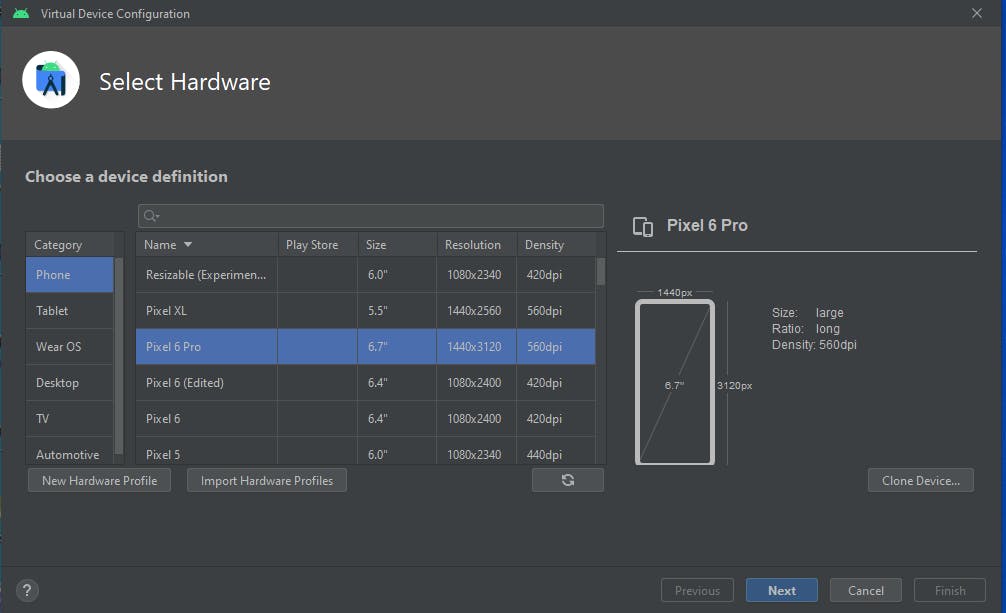
Step 2: Choose the device based on your choice and click on "next"
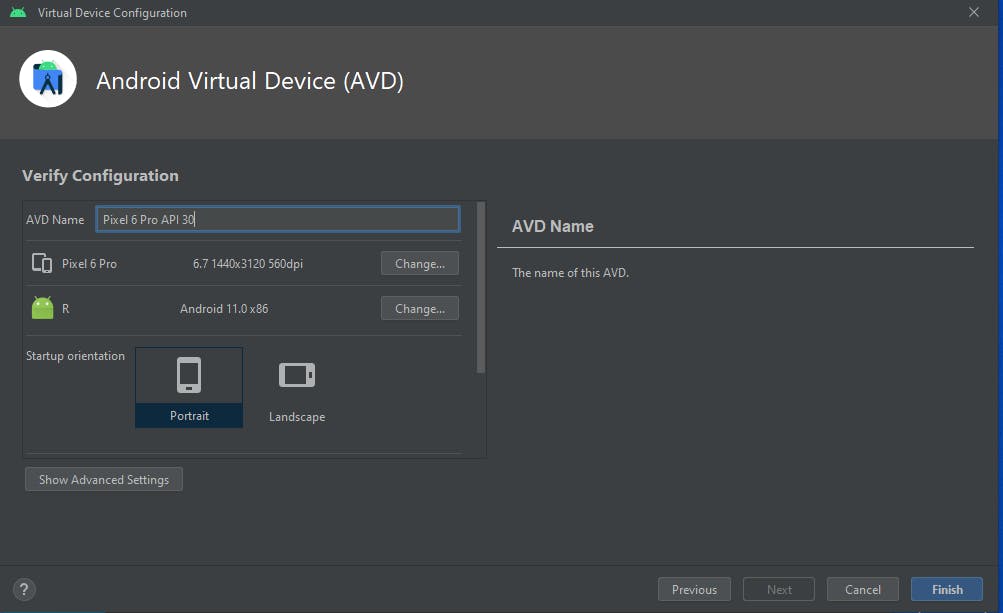
Step 3: Click on the download icon and it will download the hardware required for the virtual device after it has downloaded click on "Finish" and it will create a virtual device.

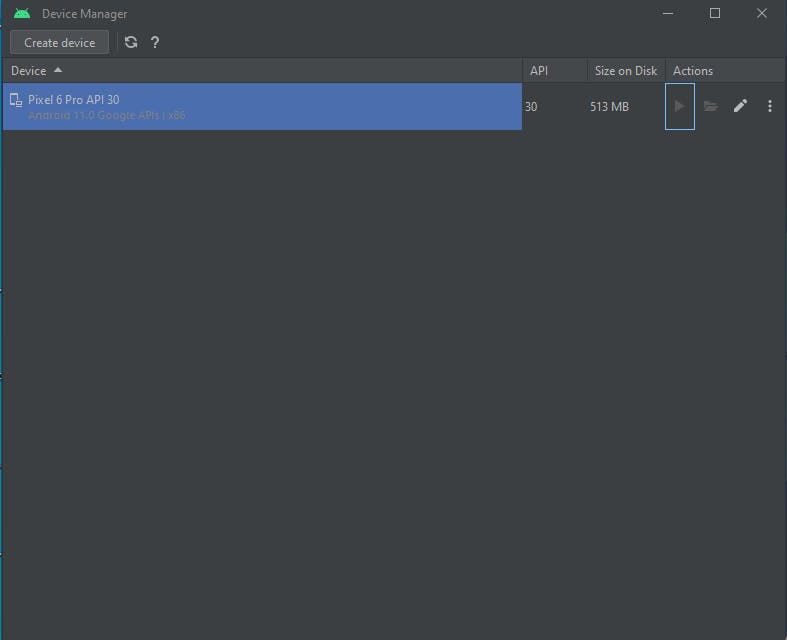
Step 4: Click on the play icon, it will start the emulator.
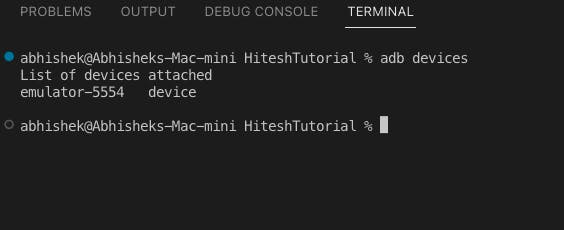
Step 5: Open the project in your favorite code editor and toggle up the terminal. In my case, I will use vs code and type the command adb devices to see if you are currently running an emulator
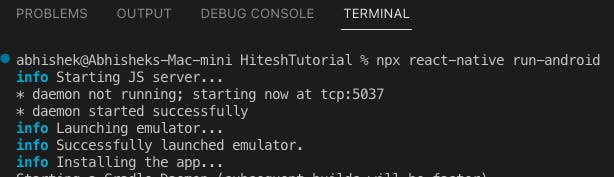
Step 5: Once the emulator is running, we can now run the command
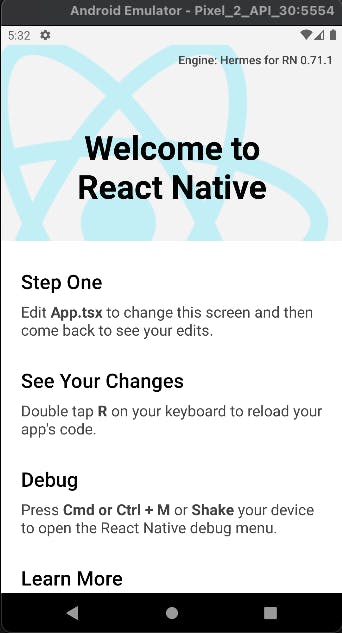
npx react-native run-android .This will open up the metro bundler and execute the application on emulator.
To run the react native application on a physical device
Running a react native application on a physical android device is much easier than running it on a virtual device. We even don't need to open up an android studio.
Note: Although we need to have Andriod Studio installed on our machine.
To start the application of a mobile phone we need to follow some given steps:
Step 1: First we need to enable the "Developer options" menu by going to Settings → About phone → Software information and then tapping the Build number row at the bottom seven times. We can then go back to Settings → Developer options to enable "USB debugging".
Step 2: Plug in the mobile phone via USB and connect to laptop.
Step 3: Check that your device is properly connecting to ADB, the Android Debug Bridge, by running adb devices.
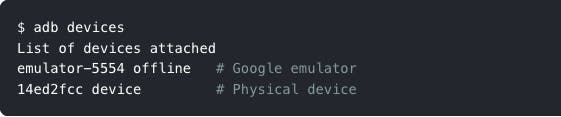
Seeing device in the right column means the device is connected. You must have only one device connected at a time.
Step 4: Run the command npx react-native run-android . It will start the application on physical android device.
Cheers🥂!! You have successfully set up your windows environment for react native projects. Thank you readers🙏🏻🙏🏻.